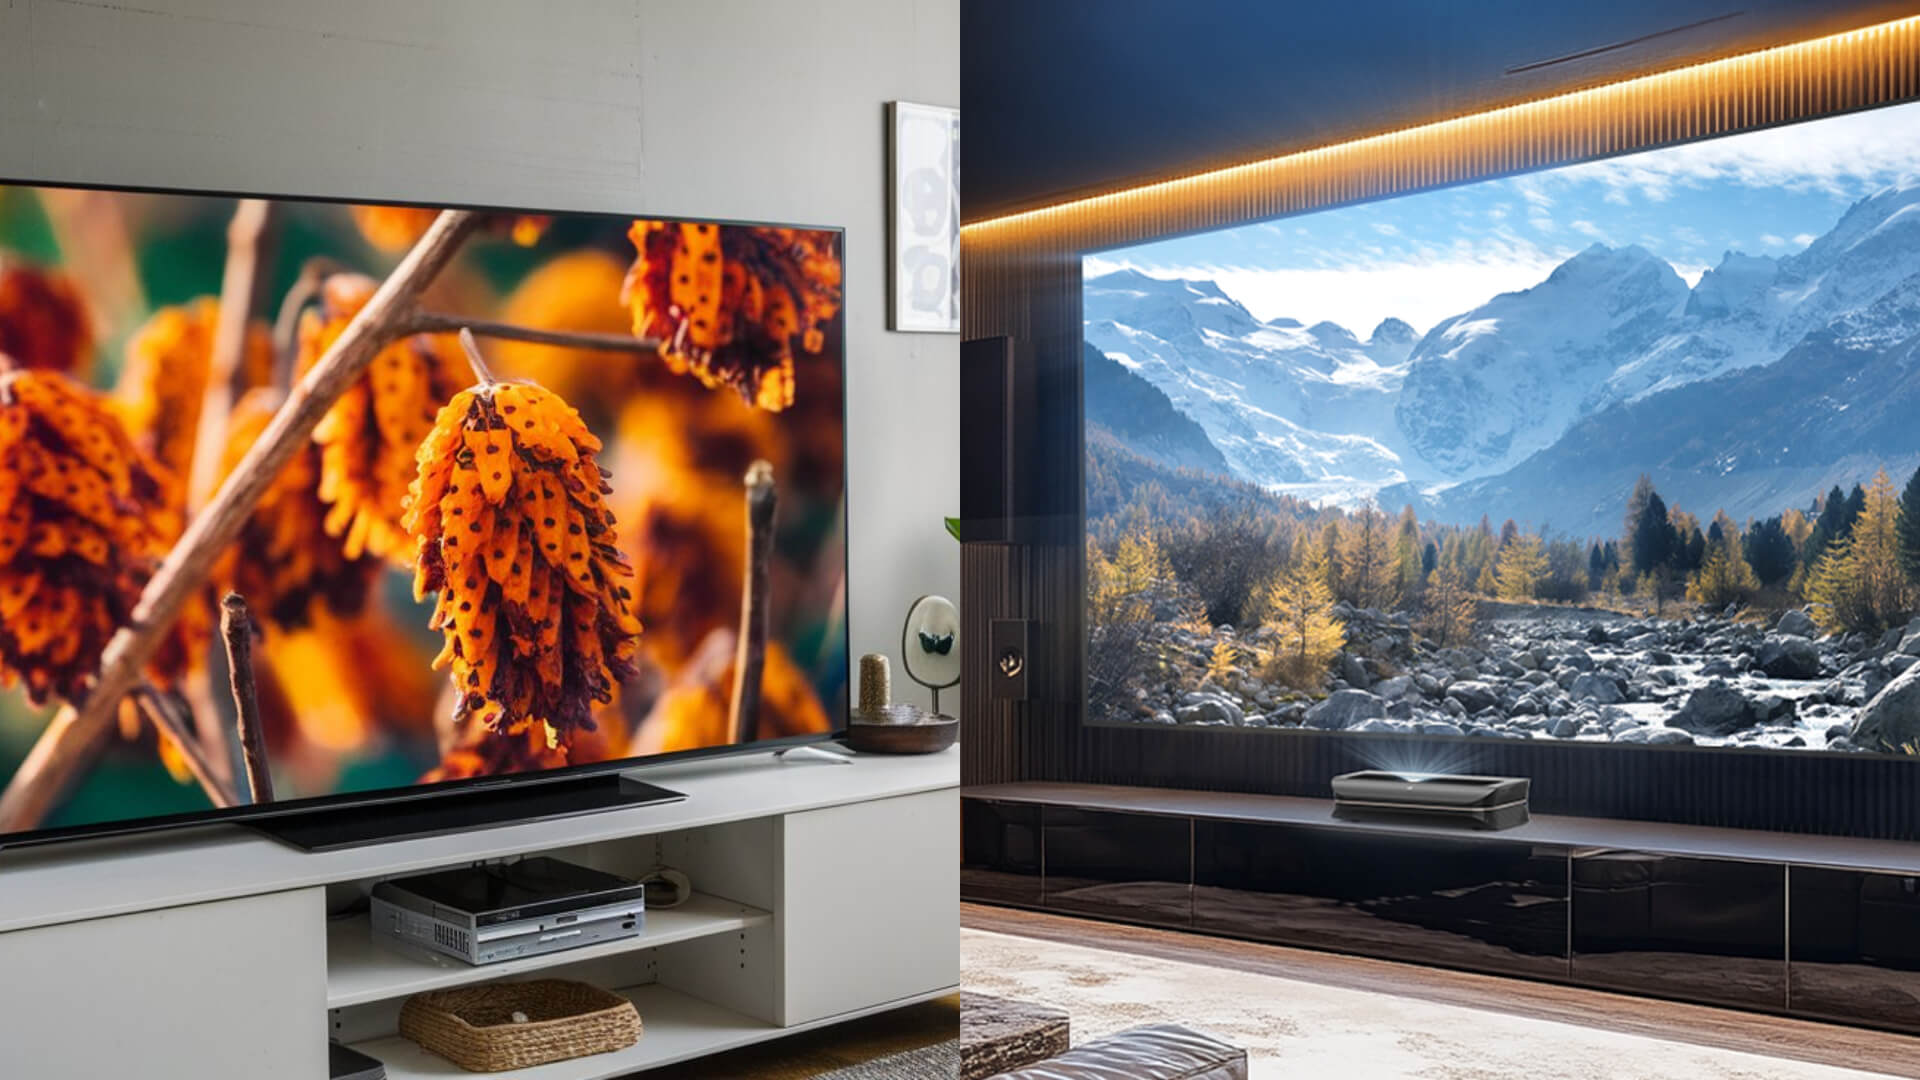

Content from the small smartphone display onto a giant canvas to project, transforms your living room into an impressive home cinema that surpasses traditional TVs in many respects (see also our comparison: Projector or TV. But how exactly do you establish the connection? The process is simpler than many think.
Whether you’re looking for the maximum image quality of a wired connection or prefer the flexible freedom of a wireless solution, this guide will take you to your goal step by step. We explain the technical basics, show you the best methods for Android and iPhone, and help you quickly solve common problems.
Before you start: A quick 2-minute checklist
Good preparation saves you time and potential frustration. Check these three points before buying cables or adapters.
Check the connections: What does your phone have, what does the projector have?
Take a quick look at the ports on your devices. Modern smartphones now use almost exclusively one of two standards:
-
USB-C: The oval, symmetrical connector. Standard on all current Android devices and on iPhones from the iPhone 15 onward.
-
Lightning: The smaller, also symmetrical connector for iPhones up to and including model 14.
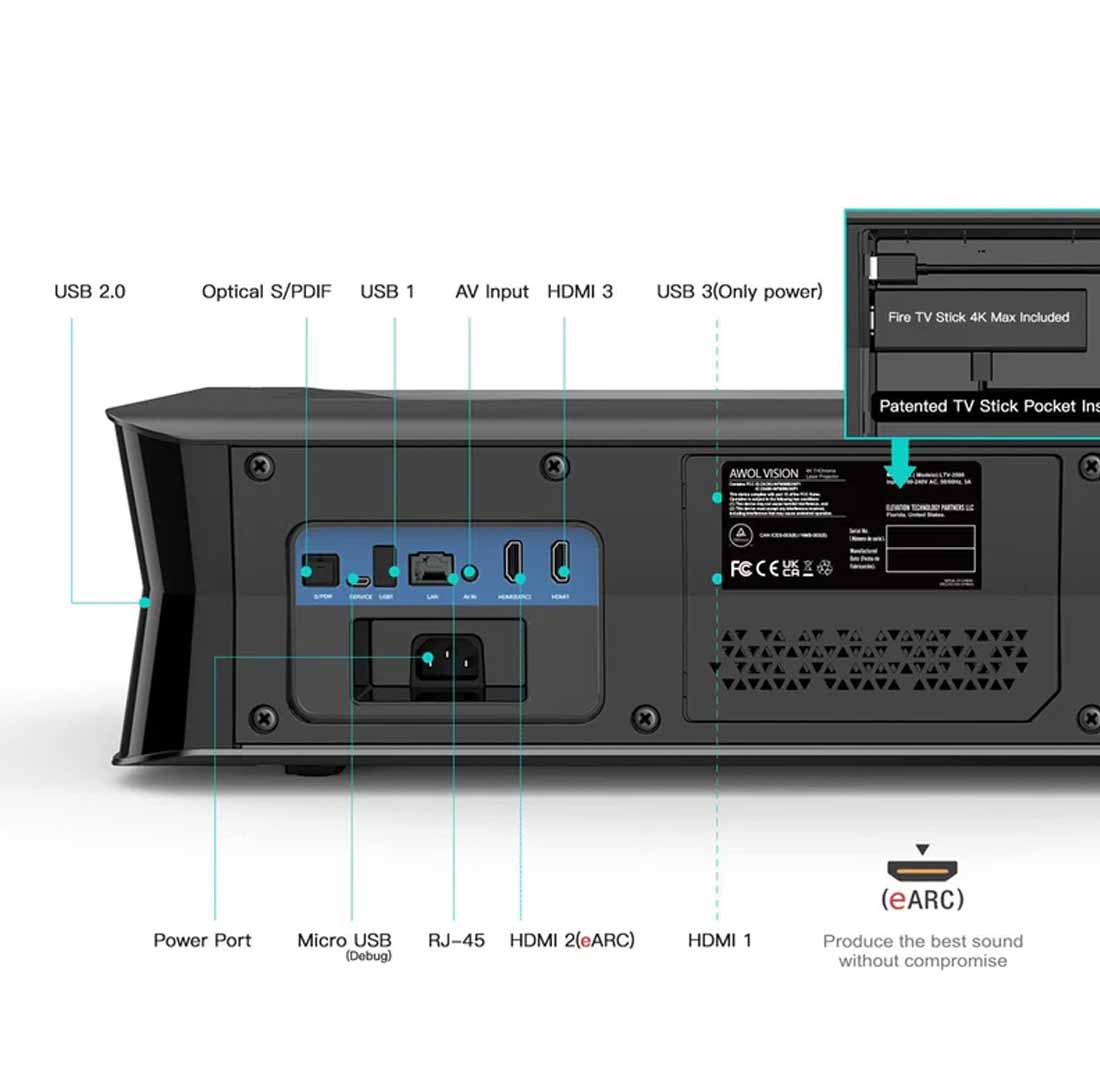
Your projector will very likely have one or more HDMI ports have as an input. This is the current standard for transmitting image and sound.
The most important question: Does your phone support video output via USB-C?
This is the most critical point for a wired connection on many Android devices. Not every USB-C port can output a video signal. The function required for this is called DisplayPort Alternate Mode. While high-end smartphones usually have this feature, it is missing from many mid-range and entry-level devices.
How to check it: Check the manufacturer's official website for the technical specifications of your smartphone model. If "DisplayPort Alternate Mode" or "video output via USB-C" is listed there, you're on the safe side.
Select the correct source on the projector
An often overlooked step: The projector needs to know which input it should receive the signal from. To do this, press the button labeled on your projector remote "Source", "Input" or a symbol with a rectangle and an arrow. Then select the correct HDMI input (e.g. "HDMI 1" or "HDMI 2").
Method 1: The wired connection – Maximum quality and stability
For the best possible picture and sound quality, without delays or stuttering, the cable is the first choice. This is the ideal method for movie lovers and ambitious gamers.
For Android & new iPhones (from iPhone 15): Connection via USB-C to HDMI
If your smartphone supports video output via USB-C, the connection is incredibly simple. All you need is a USB-C to HDMI cable or a suitable adapter.
-
Connect the USB-C end of the cable to your smartphone.
-
Plug the HDMI end into an available HDMI input on your projector.
-
Select the correct input source on the projector. Your phone's screen content should now automatically appear on the screen.
Expert tip: Make sure to use a high-quality cable to ensure full 4K resolution and modern standards such as HDR. The difference in image dynamics is enormous, as our Comparison of SDR vs. HDR shown in detail.
For older iPhones (up to iPhone 14): The Lightning to Digital AV Adapter
For iPhones with a Lightning connector, you need the Apple Lightning to Digital AV Adapter.
-
Plug the adapter into your iPhone's Lightning connector.
-
Connect a standard HDMI cable to the adapter and the projector.
-
Select the HDMI source on the projector.
Expert tip: We recommend using the official Apple adapter. Cheaper knock-offs may cause problems when transmitting copy-protected content from streaming services such as Netflix and may stop working after an iOS update. The original adapter also has an additional Lightning port, so you can charge your iPhone while playing content.
Method 2: The wireless connection - freedom without cable clutter
If flexibility and a clean look are your top priorities, wireless transmission is the right choice.
Important to know: The difference between screen mirroring and casting
-
Screen Mirroring (Mirroring): This duplicates the entire screen content of your smartphone 1:1 to the projector in real time. Every app, every notification—everything is displayed. This drains your phone's battery.
-
Casting: This is the smarter method. An app (e.g. YouTube) only sends the link to the video to a receiving device (e.g. a Chromecast). That device then streams the content directly from the internet. Your phone only serves as a remote control and can be used for other tasks or locked.
For Apple Users: AirPlay Explained Simply
AirPlay is Apple’s protocol for wireless streaming. You need a projector with native AirPlay support or an Apple TV box connected to the projector.
-
Make sure your iPhone and the projector/Apple TV are connected to the same Wi‑Fi network.
-
Open Control Center on your iPhone (swipe down from the top-right corner).
-
Tap the screen mirroring icon (two overlapping rectangles) and select your device from the list.
For Android users: Miracast and Google Chromecast
Most modern projectors support the mirroring standard Miracast.
-
Enable the "Screen Mirroring" or "Wireless Projection" function on your projector.
-
Open Quick Settings on your Android phone (swipe down from the top of the screen).
-
Look for the "Transfer", "Smart View", or "Cast" feature and tap it. Select your projector from the list of devices found.
For the "casting" of content, a Google Chromecast-A dongle that connects to the projector's HDMI port, an excellent and affordable solution.
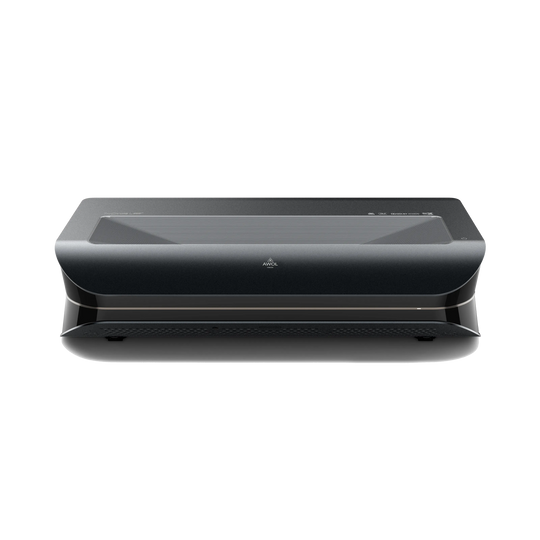
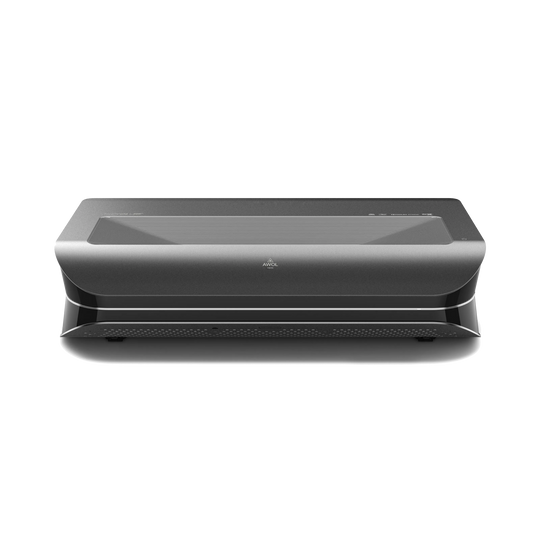
A premium experience with a modern 4K laser projector
Modern Ultra-short-throw projector like the AWOL Vision LTV-3500 Pro are optimized for such applications. With multiple HDMI 2.1 ports, connecting cables or streaming sticks is a breeze. In addition, advanced image processing ensures that the signal from your phone reaches the screen in brilliant 4K quality and with lifelike colors - which raises the question of whether a 4K projector is worth it, clearly answered. This ensures that the high quality of your smartphone content is not lost on the way to the big screen.
Conclusion: wired or wireless – the choice is yours for your perfect large-screen experience
The connection between a smartphone and a projector is straightforward if you choose the right method for your purpose. Once the connection is established, you can move on to the next step and select the one for you calculate the perfect canvas size.
To summarize:
-
Wired connection: The best choice for gamers and film purists thanks to maximum quality and zero delay.
-
Wireless connection: Perfect for impromptu presentations, quickly sharing vacation photos, and a clean, wireless setup.
With the knowledge from this guide, you are now perfectly equipped to confidently bring content from your smartphone to the big screen.