


FAQ
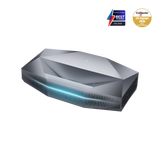
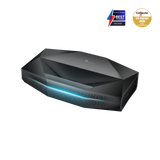
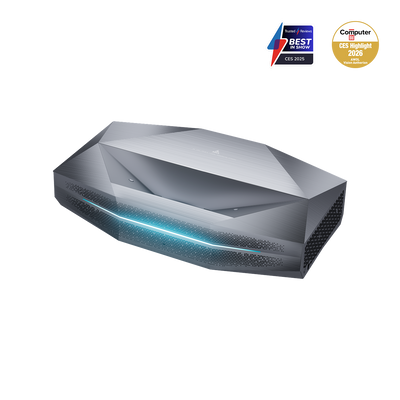
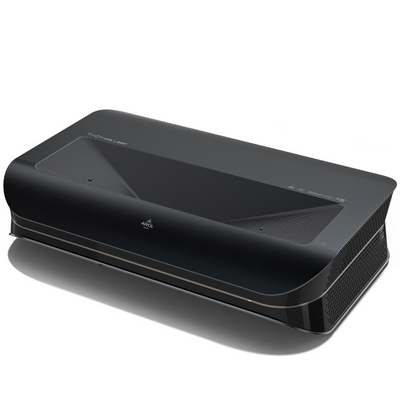
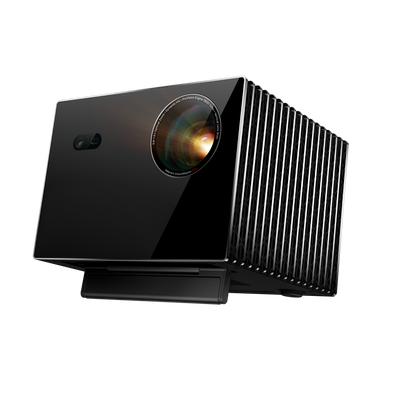
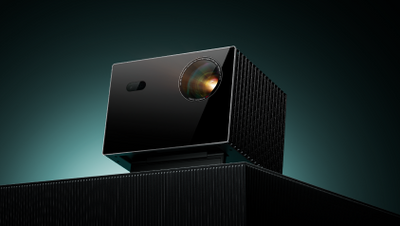
Projector
The projector can display image diagonals from 80 inches (2.03 m) to 150 inches (3.81 m).
The system currently supports 10 languages:
English, Chinese, Russian, German, French, Spanish, Italian, Korean, Turkish, and Japanese.
- When you play Dolby Vision (DV) content, a DV symbol appears at the beginning to remind you that the input signal is DV. You can press the Menu button (3 lines) on the AWOL Vision remote control to check the current HDR video format (HDR10, HDR10+ or DV).
The AWOL Vision projector supports the eARC function. You can use HDMl 2 (eARC) to connect your AV receiver, and the various components (Blu-ray, game console.tivo) connected to the other 2 HDMl ports on the AWOL Vision can be passed through to your AV receiver to produce surround sound. You can connect your various components to your receiver to enjoy surround sound, and the AWOL Vision device serves only as a display device.
- The AWOLVision projector’s enhanced game mode reaches around 15 ms at 4K@60Hz and 8 ms at 1080P@120Hz for gamers. You can enable it by following the menu path: [Settings]→ [Picture]-,[Advanced Settings]-, [Low Latency Mode]. You can also enable it by switching the picture mode to Game Mode.
- Due to the limitations of DLP technology, AWOL Vision projectors support up to 4K 60Hz non-3D input sources and 1080p 120Hz DLP Active 3D input sources. AWOL Vision supports all active 3D modes, including Side-by-Side, Top and Bottom, Frame Pack, and Frame Continuous.
- We recommend Frame Pack mode, which delivers the best 3D performance, and all 30 Blu-rays are in this format.
- Most films are recorded at 24 frames per second.
- The 24 FPS function (under [MEMC] → [Film]) eliminates judder effects and displays films as originally intended.
- Note: With 4K@60Hz output, other MEMC settings (High, Medium, Low, Off) can be selected.
HDCP 2.2 is supported.
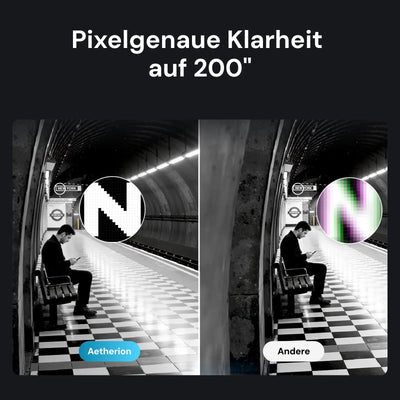
The projector uses HDMI 2.0b. HDMI 2.1 (4K 120Hz) offers no advantage for the 0.47-inch DLP chipset, as it outputs a maximum of 4K 60Hz.
Yes. Here's how to connect external devices:
- Go to Settings > Bluetooth > Management.
- Make sure the Bluetooth device is in pairing mode.
- Select "Add device".
canvas
The 100-inch AWOL Vision motorized floor-rising projector screen measures 92.9 inches × 60 inches × 6.3 inches.
The 120-inch AWOL Vision motorized floor-rising projector screen measures 111.4 inches × 76.8 inches × 6.3 inches.
We recommend the Cinematic screen for rooms with moderate to no ambient light. The Daylight screen is suitable for rooms with high ambient light. You can find more details on the product pages.
- The Cinematic screen has a gain value of 0.6 dB and is made of BlackGrid, an environmentally friendly TPU material.
- The Daylight screen has a gain value of 1.1 dB and is made of Fresnel PET.
No, you can also project the image onto a flat wall. However, we strongly recommend purchasing an Ambient Light Rejection (ALR) screen specifically designed for UST projectors. A screen optimizes the experience with your AWOL Vision projector. We currently offer 100-inch and 120-inch ALR Cinematic screens, as well as 100-inch ALR Daylight screens.
Yes, installation is possible using the instructions or an installation video. Two people need about 1–2 hours for assembly and installation.
Allow for 2 people needing 1-2 hours.
The recommended minimum viewing distance is 13 feet (approx. 4 meters), and the recommended distance between the projector and the wall is 8 inches (approx. 20 cm).
We recommend removing the springs, reattaching them, and tightening them further:
- To remove the springs: Hook the spring section (see the highlighted area in the instructions) and carefully pull it toward the edge of the canvas.
- Align the frame and canvas evenly. Two people should simultaneously attach the springs at opposite ends to the second groove position to achieve tighter tension.
- Repeat this at all corners.
- First attach springs in the middle of the canvas, then every second spring, and finally the remaining ones.
3D technology
To activate the 3D function and view 3D content, proceed as follows:
- Check content compatibility:
Make sure the content you want is available in 3D format. - Activate the 3D function:
- Select the correct format:
Choose the appropriate format for your 3D content. For example, Blu-ray discs often use the frame-packing format. - Activate the DLP-Link 3D glasses:
Turn on your DLP-Link 3D glasses. Make sure they are fully charged and working properly.
Use the 3D demo videos in our Google Drive to test the 3D function:
🔗 https://drive.google.com/drive/folders/1L_EIOtqSIeSGMa4XXH_cimeEf92HJ7kB?usp=sharing
The DLP-Link 3D glasses sync via a brief white flash of light from the projector between frames at a 120Hz rate. Both lenses of the glasses close during this sync signal, making it invisible to the viewer.
- The glasses have a light sensor – make sure it receives the 120Hz signal.
- Turn the glasses on before each 3D movie (using the button on the glasses or in the 3D menu).
- In the menu, you can adjust the dominant eye (left/right), depending on the user.
- Left-Right Swap:
Adjusts the 3D sequence to your dominant eye. - 3D SBS to 2D:
Converts "side-by-side" 3D content into 2D. - 3D TB to 2D:
Converts "top-and-bottom" 3D content into 2D.
- Make sure the glasses are charged (charge them using the included micro-USB cable).
- Press the button on the glasses to switch the dominant eye (left/right).
Proceed step by step as follows:
- Play the 3D content.
- Enable 3D via Settings > Picture > 3D.
- Select the correct format for the content (e.g. Frame Packing for Blu-ray 3D discs).
- Turn on the DLP-Link 3D glasses (make sure they are charged).
All Blu-ray 3D discs use the frame packing format. Select this format to get a full image (not half images).
General questions
Go to [Settings] > [Brightness] > [Focus]. To adjust the focus precisely, briefly press (do not press and hold) the up and down buttons on the remote control. Adjust until all four corner squares are sharp.
- 15 ms at 4K@60 Hz
- 8 ms at 1080p@120 Hz (with Turbo mode enabled)
Go to [Settings] > [General] > [Power Settings] > [Startup Sound] and disable it.
You can find the video installation guide here:
https://drive.google.com/drive/folders/1AZ6CbKEjikidnsDa5M2k3aaf08cU4Mz3?uspsharing
For technical support: support.eu@awolvision.com
Under [Video and Audio] on Apple TV:
- Format: 4K SDR
- Match Content: Enable range
If an ultra-short-throw projector is used on an uneven wall, distortions may occur. The projector amplifies every unevenness or surface flaw in the wall.
- Why is it not possible? The projector’s IR codes are not compatible with the Amazon Fire TV Stick.
- Alternative: Use the AWOL Vision remote control or enable the CEC function ([Settings] > [General] > [CEC]) to connect both devices.
- Slow flashing: Projector is shutting down.
- Continuously lit: Projector is switched on.
Steps for correction:
- Fire TV Stick HDR - Change the setting:
Go to [Settings] > [Display] > [HDR] > [Adaptive] to optimize SDR content. - Projector setting:
Go to [Settings] > [Picture] > [Advanced Settings] > [Wide Color Gamut] and disable it to reproduce SDR content authentically.
- Function: Expands the color range of SDR content (except in Movie mode) to BT.2020 (high-resolution color spectrum).
- Mode limitation: Disabled in Movie mode to preserve natural colors.