



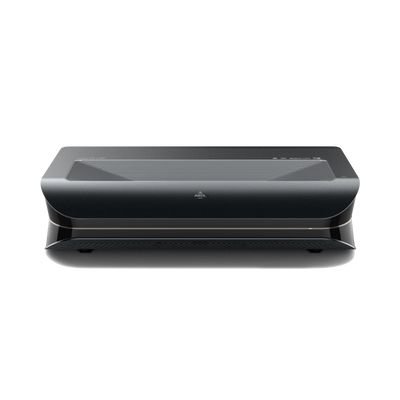
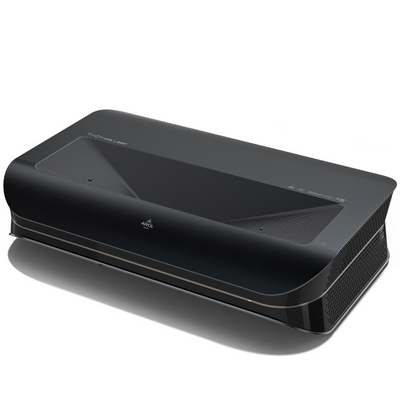
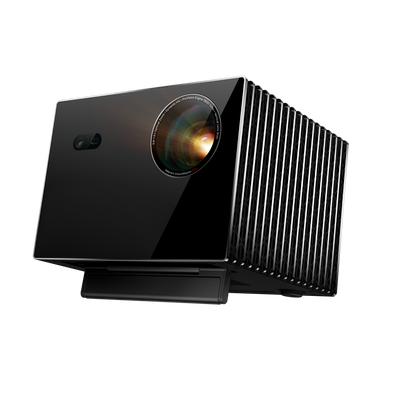


The connection of a laptop to a projector is part of the standard setup in meeting rooms and home theaters. Nevertheless, different ports, adapters, and operating system settings often lead to problems such as "No Signal", distorted resolutions, or missing sound.
This guide explains the technical basics, walks you through the setup step by step on Windows and macOS, and shows solutions for common error scenarios.
(Note: If you want to connect a smartphone instead of a notebook, read our separate guide on the topic Connect the projector to your phone.)
1. The interfaces: Check hardware requirements

Before you make any software settings, the physical connection must be correct. The quality of the transmission depends largely on the standard used – especially if you want the full quality of a modern 4K Projectors would like to use.
HDMI (The Standard)
The majority of projectors use HDMI as the main input. But not all cables are created equal:
- HDMI 1.4: Sufficient for Full HD (1080p).
- HDMI 2.0 / 2.1: Mandatory for 4K resolution and HDR content.
- Note: If you want a modern Laser TV use, you should choose a certified "Premium High Speed" or "Ultra High Speed" Use HDMI cables. Older cables often cannot transmit the data volume of 4K at 60Hz. This is especially important if you SDR vs HDR Content want to display correctly.
USB-C and Thunderbolt
Modern ultrabooks and MacBooks often do without a dedicated HDMI port. Here, video output is handled via USB-C (DisplayPort Alt Mode) or Thunderbolt.
- Direct connection: If the projector has a USB-C video input, a suitable USB-C cable is sufficient.
- Adapter (Dongles): Usually, a USB-C-to-HDMI adapter is required. Important: When purchasing, make sure that the adapter 4K 60Hz supported. Inexpensive adapters are often limited to 30 Hz, which results in jerky mouse movement.
2. Instructions: Connect Windows laptop
Windows 10 and Windows 11 offer a built-in projection feature that works without external software.
Step by step:
- Connect the laptop and projector using the HDMI cable.
- Select the correct source on the projector (Source), e.g. HDMI 1.
- Press the key combination on the laptop keyboard [Windows key] + [P].
The projection menu opens on the right edge of the screen with four options:
- For PC monitor only: The projector screen stays black.
- Duplicate: Laptop and projector display the same image. Ideal for presentations, but often scales the resolution down.
- Expand: The projector functions as a second, independent monitor. You can simply move windows (e.g. the video player) to the right onto the screen.
- Only second screen: The laptop screen goes black; the image is only displayed on the projector. Recommendation: This mode is best suited for home cinema, as the graphics card sends its full performance exclusively to the projector. Anyone wondering Projector or TV – with this setting, the projector becomes a fully fledged monitor replacement.
3. Instructions: Connect Apple MacBook
On macOS, detection usually works automatically, but often requires manual adjustment of the scaling.
Step by step:
- Connect the USB-C hub or cable to the MacBook.
- Navigate to System Settings > Displays.
- Click on Arrange.
- Synchronizing (mirroring): Check the box if both screens should show the same thing.
- Extended Desktop: Remove the check mark to use the projector as a separate workspace. This is often better for image quality.
Attention with streaming services (HDCP): If you watch Netflix or Disney+ in the browser and get a black screen, the copy protection is kicking in. A more reliable alternative here is to use a streaming stick connected directly to the projector. Many Ultra-short-throw projector have an extra compartment for that.
4. Special case: Gaming (minimize latency)
Whoever wants to play PC games via a projector faces the challenge of so-called "input lag".
- Cable instead of wireless: Use a wired connection for gaming, never wireless transmission.
- Game Mode: Switch the projector to "Game Mode". This disables image-enhancement algorithms that require processing time.
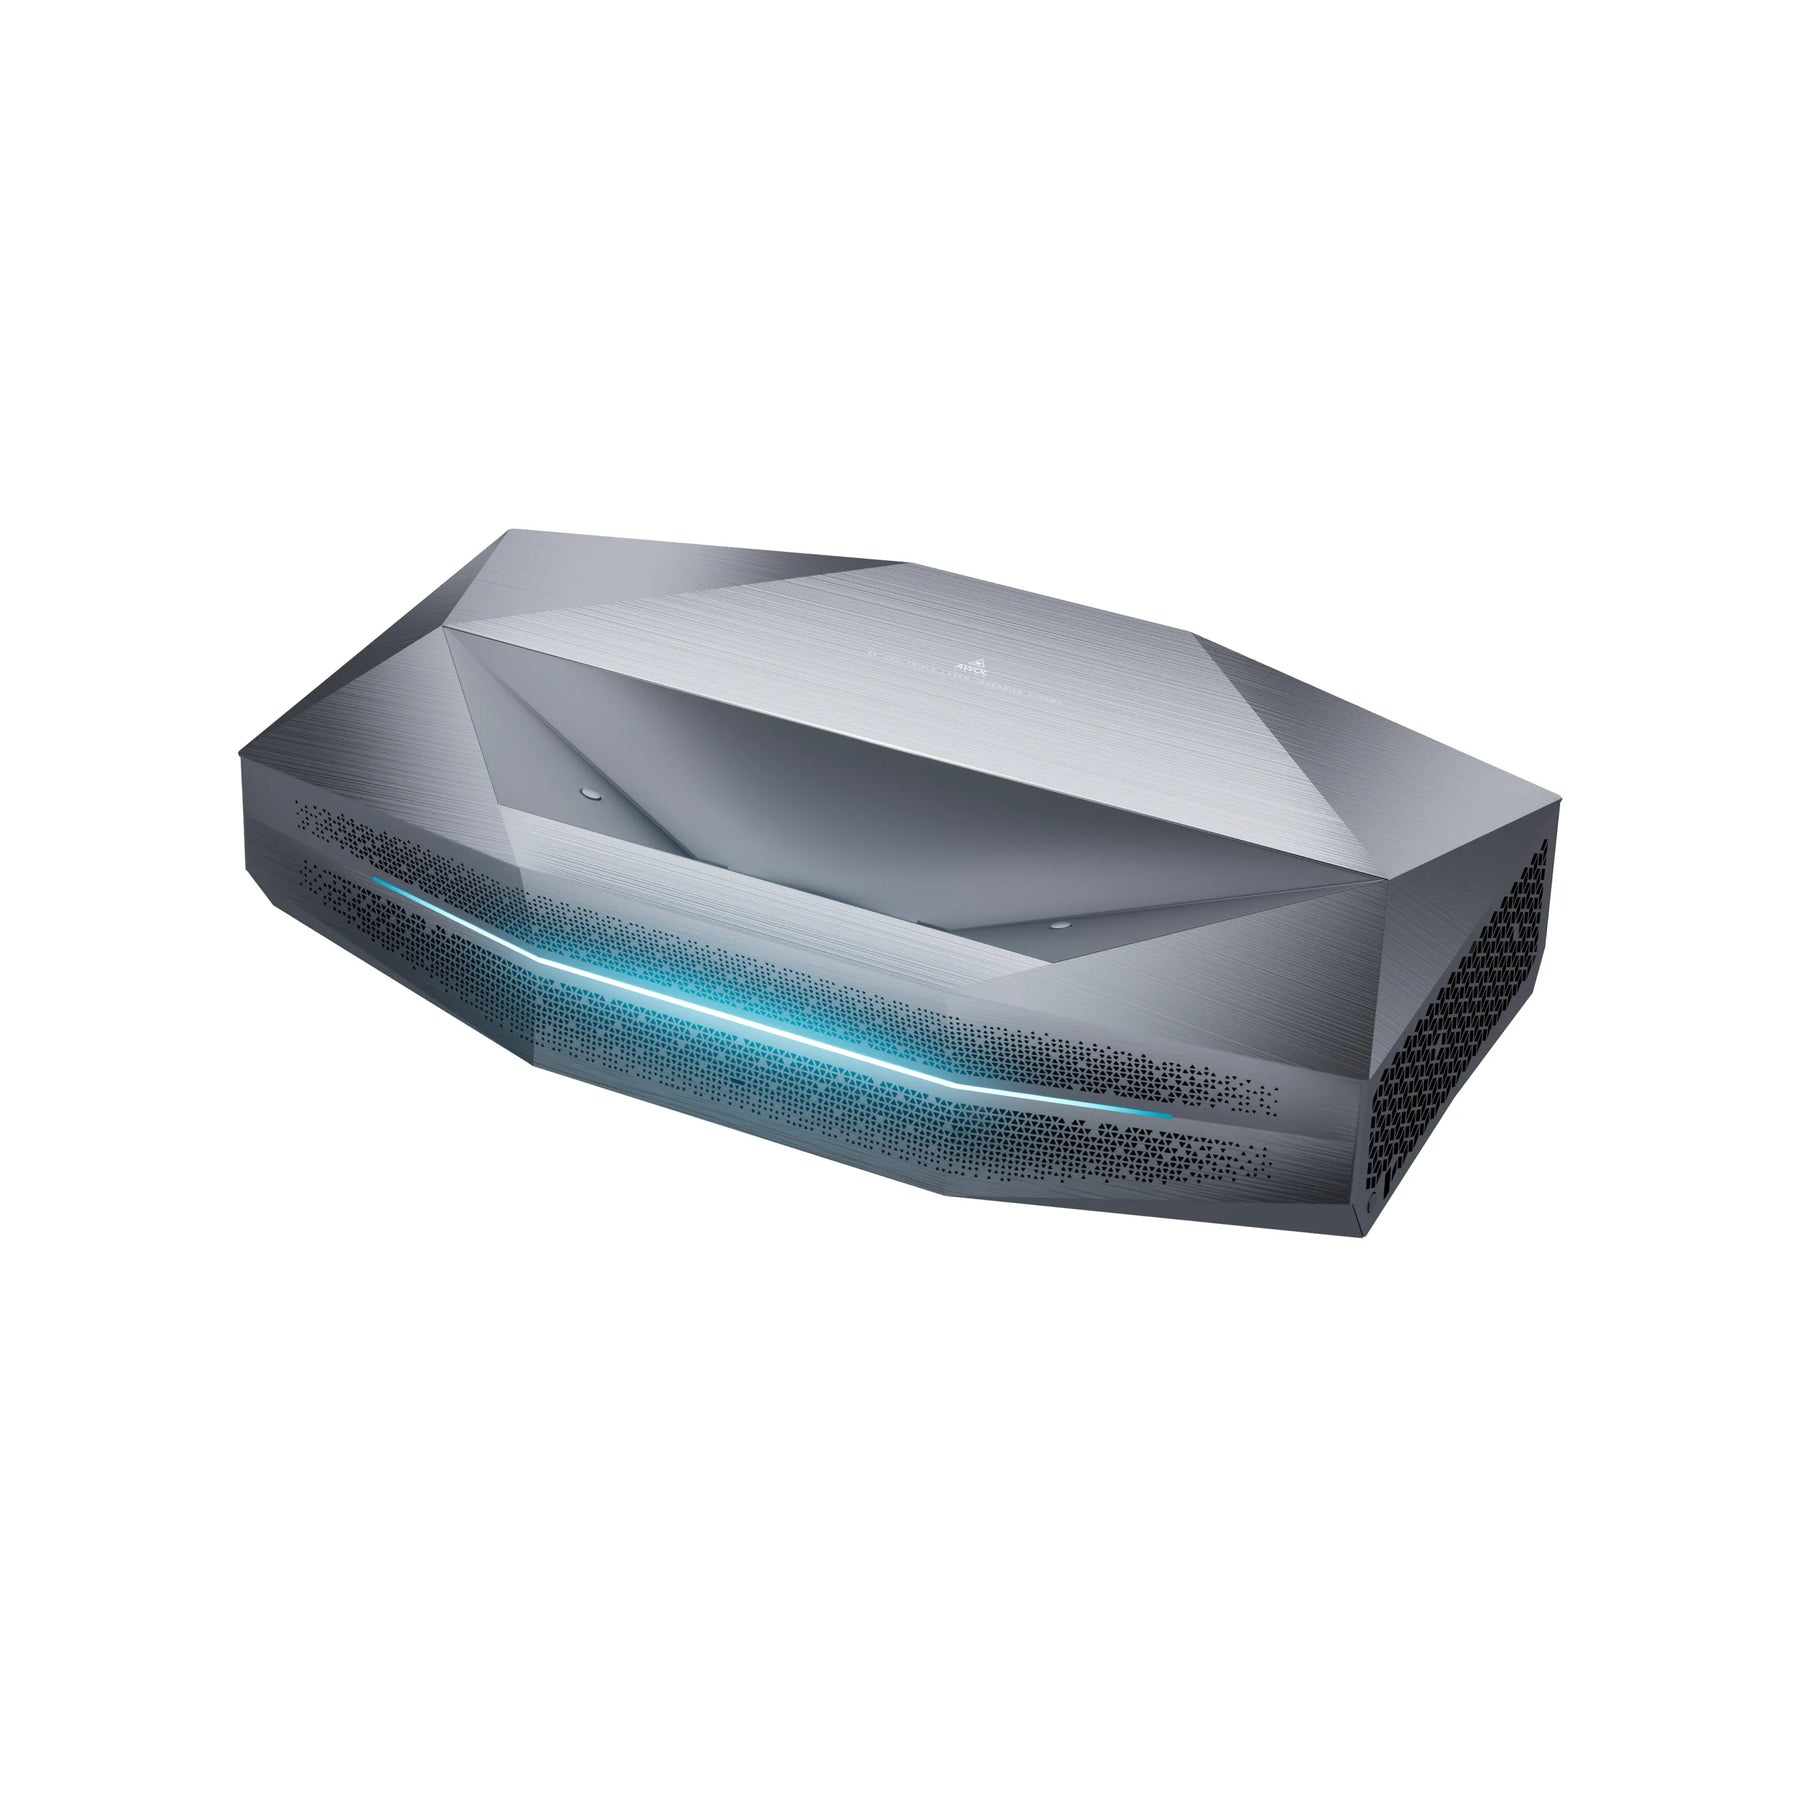
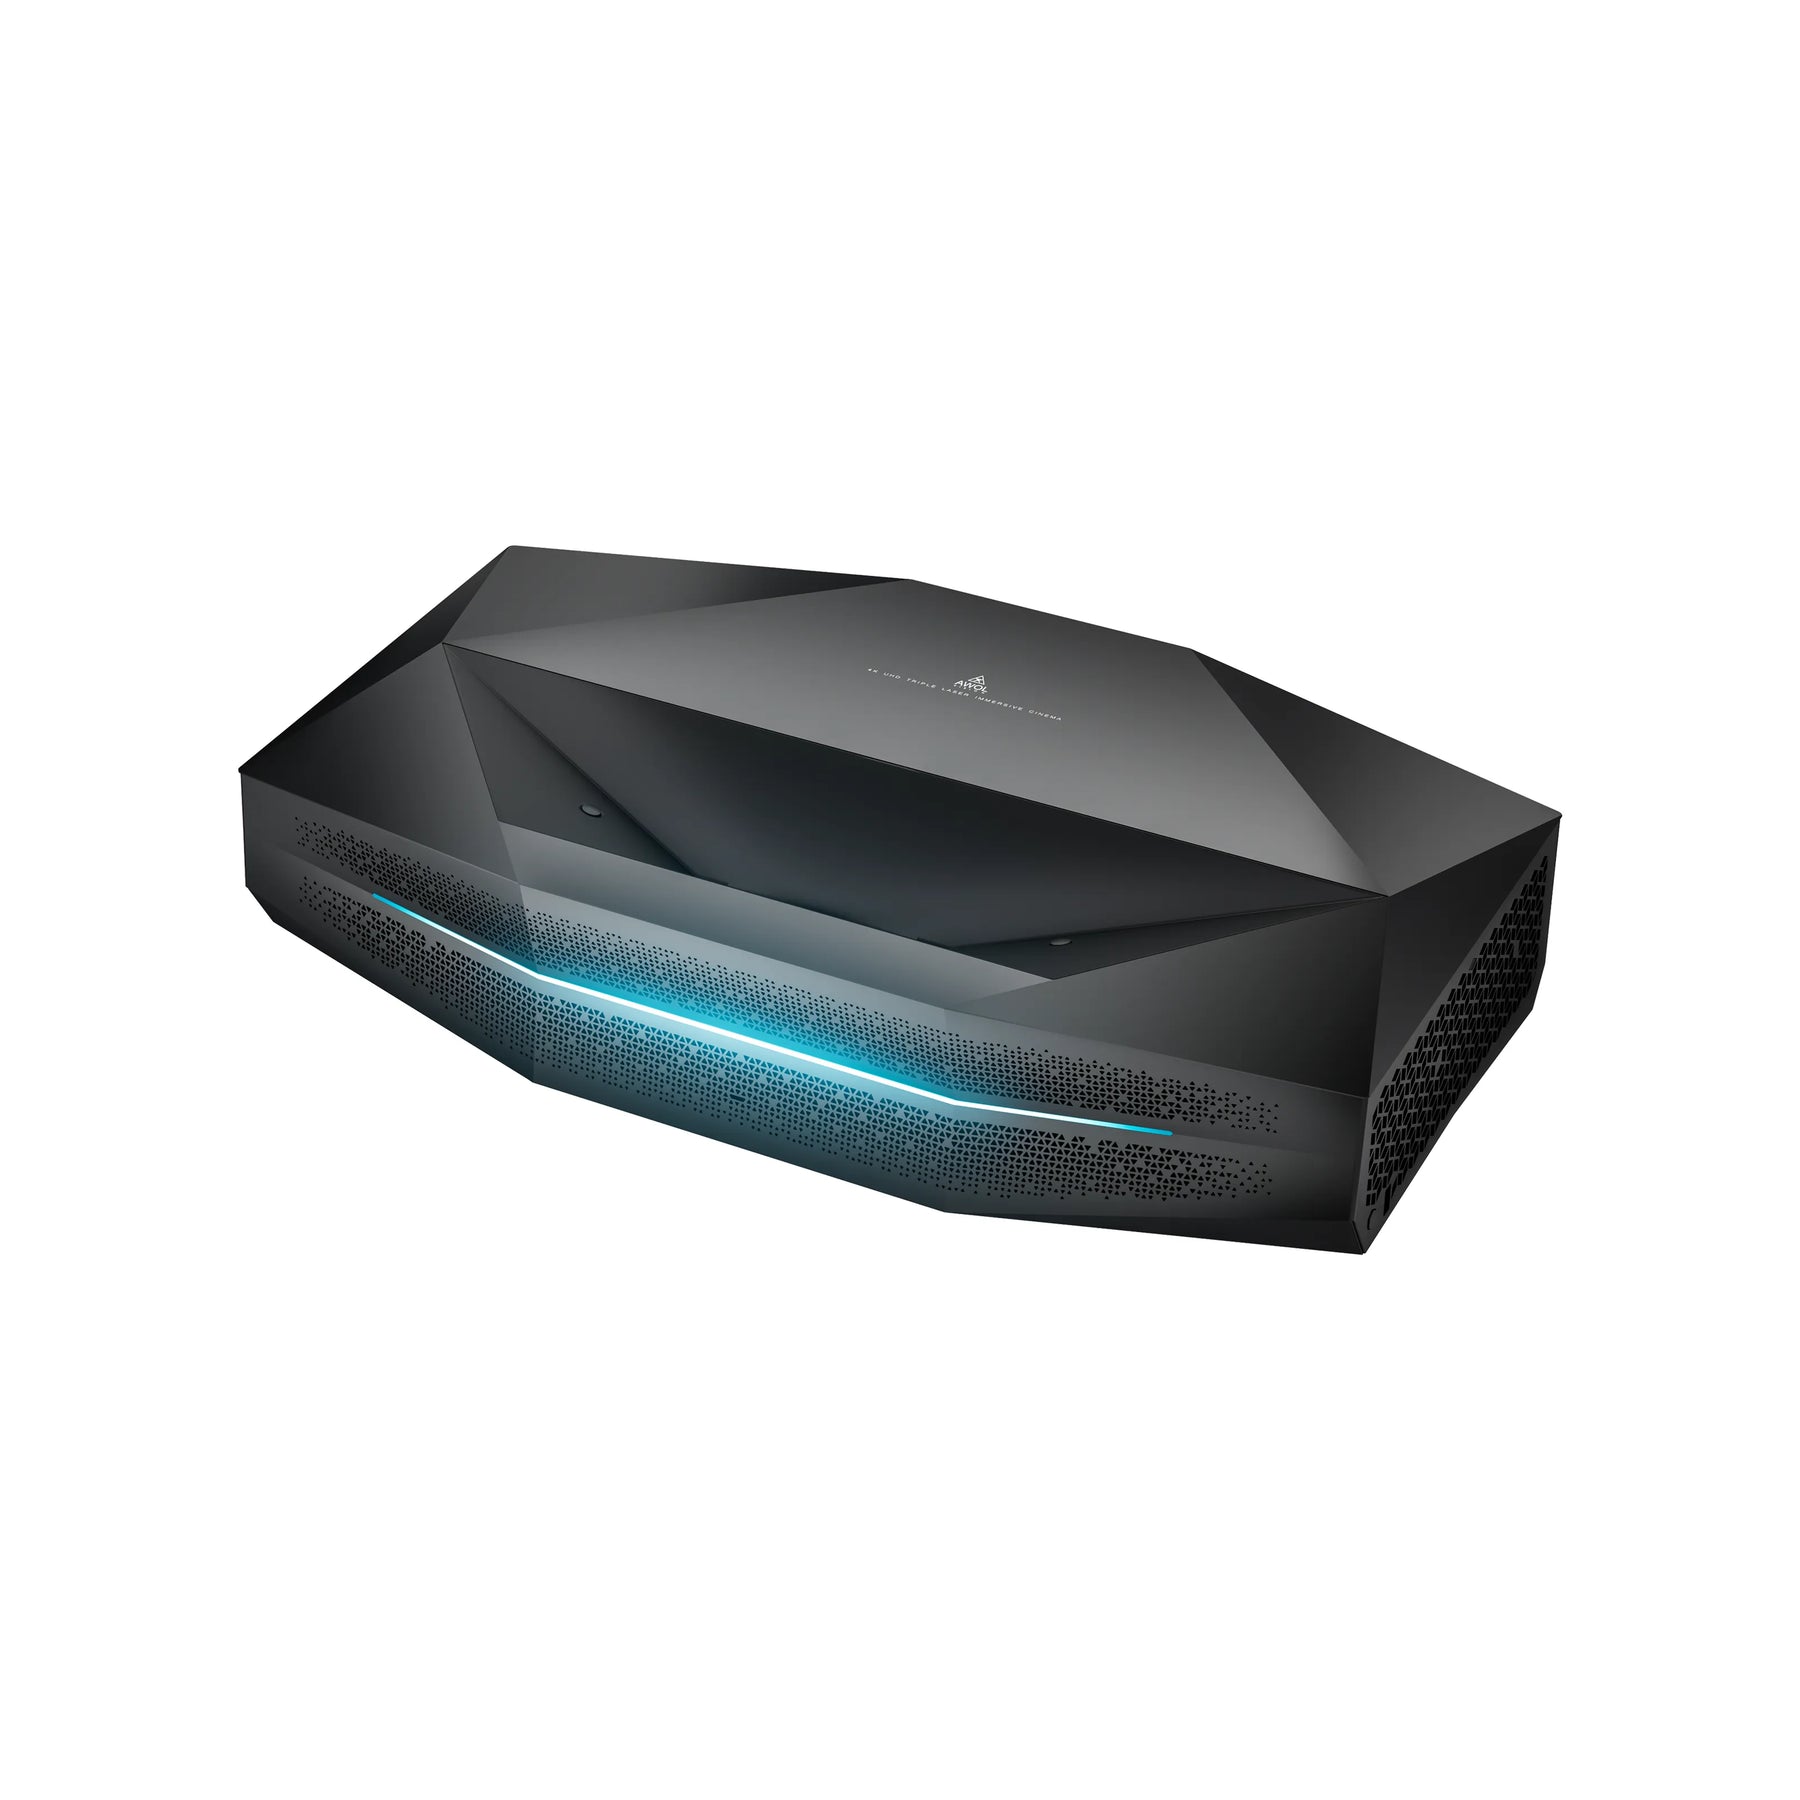
- Technical classification: High-end devices (such as the AWOL Vision Aetherion Max & Pro) reduce latency to as low as 1ms, which is essential for fast-paced shooters.
5. Troubleshooting: Common Problems and Solutions
Problem 1: The picture is there, but there is no sound Windows does not always automatically switch the audio output.
- Solution: Click the speaker icon in the taskbar at the bottom right. Select the output device (often "HDMI Output") from the dropdown menu at the top.
- Note for home theater systems: If you route the sound to an external system, make sure that you use the connection that HDMI eARC supported to transmit formats such as Dolby Atmos uncompressed.
Problem 2: The image appears blurry or distorted This happens when the laptop sends an incorrect resolution to the projector.
- Solution (Windows): Right-click on the desktop > Ad settings. Select the projector and set the "screen resolution" to the projector's native value (for 4K devices: 3840 x 2160).
Problem 3: Laptop does not detect the projector
- Solution: Disconnect the cable and restart the projector. For USB-C connections, check whether the port used on the laptop is actually "DisplayPort"-capable.